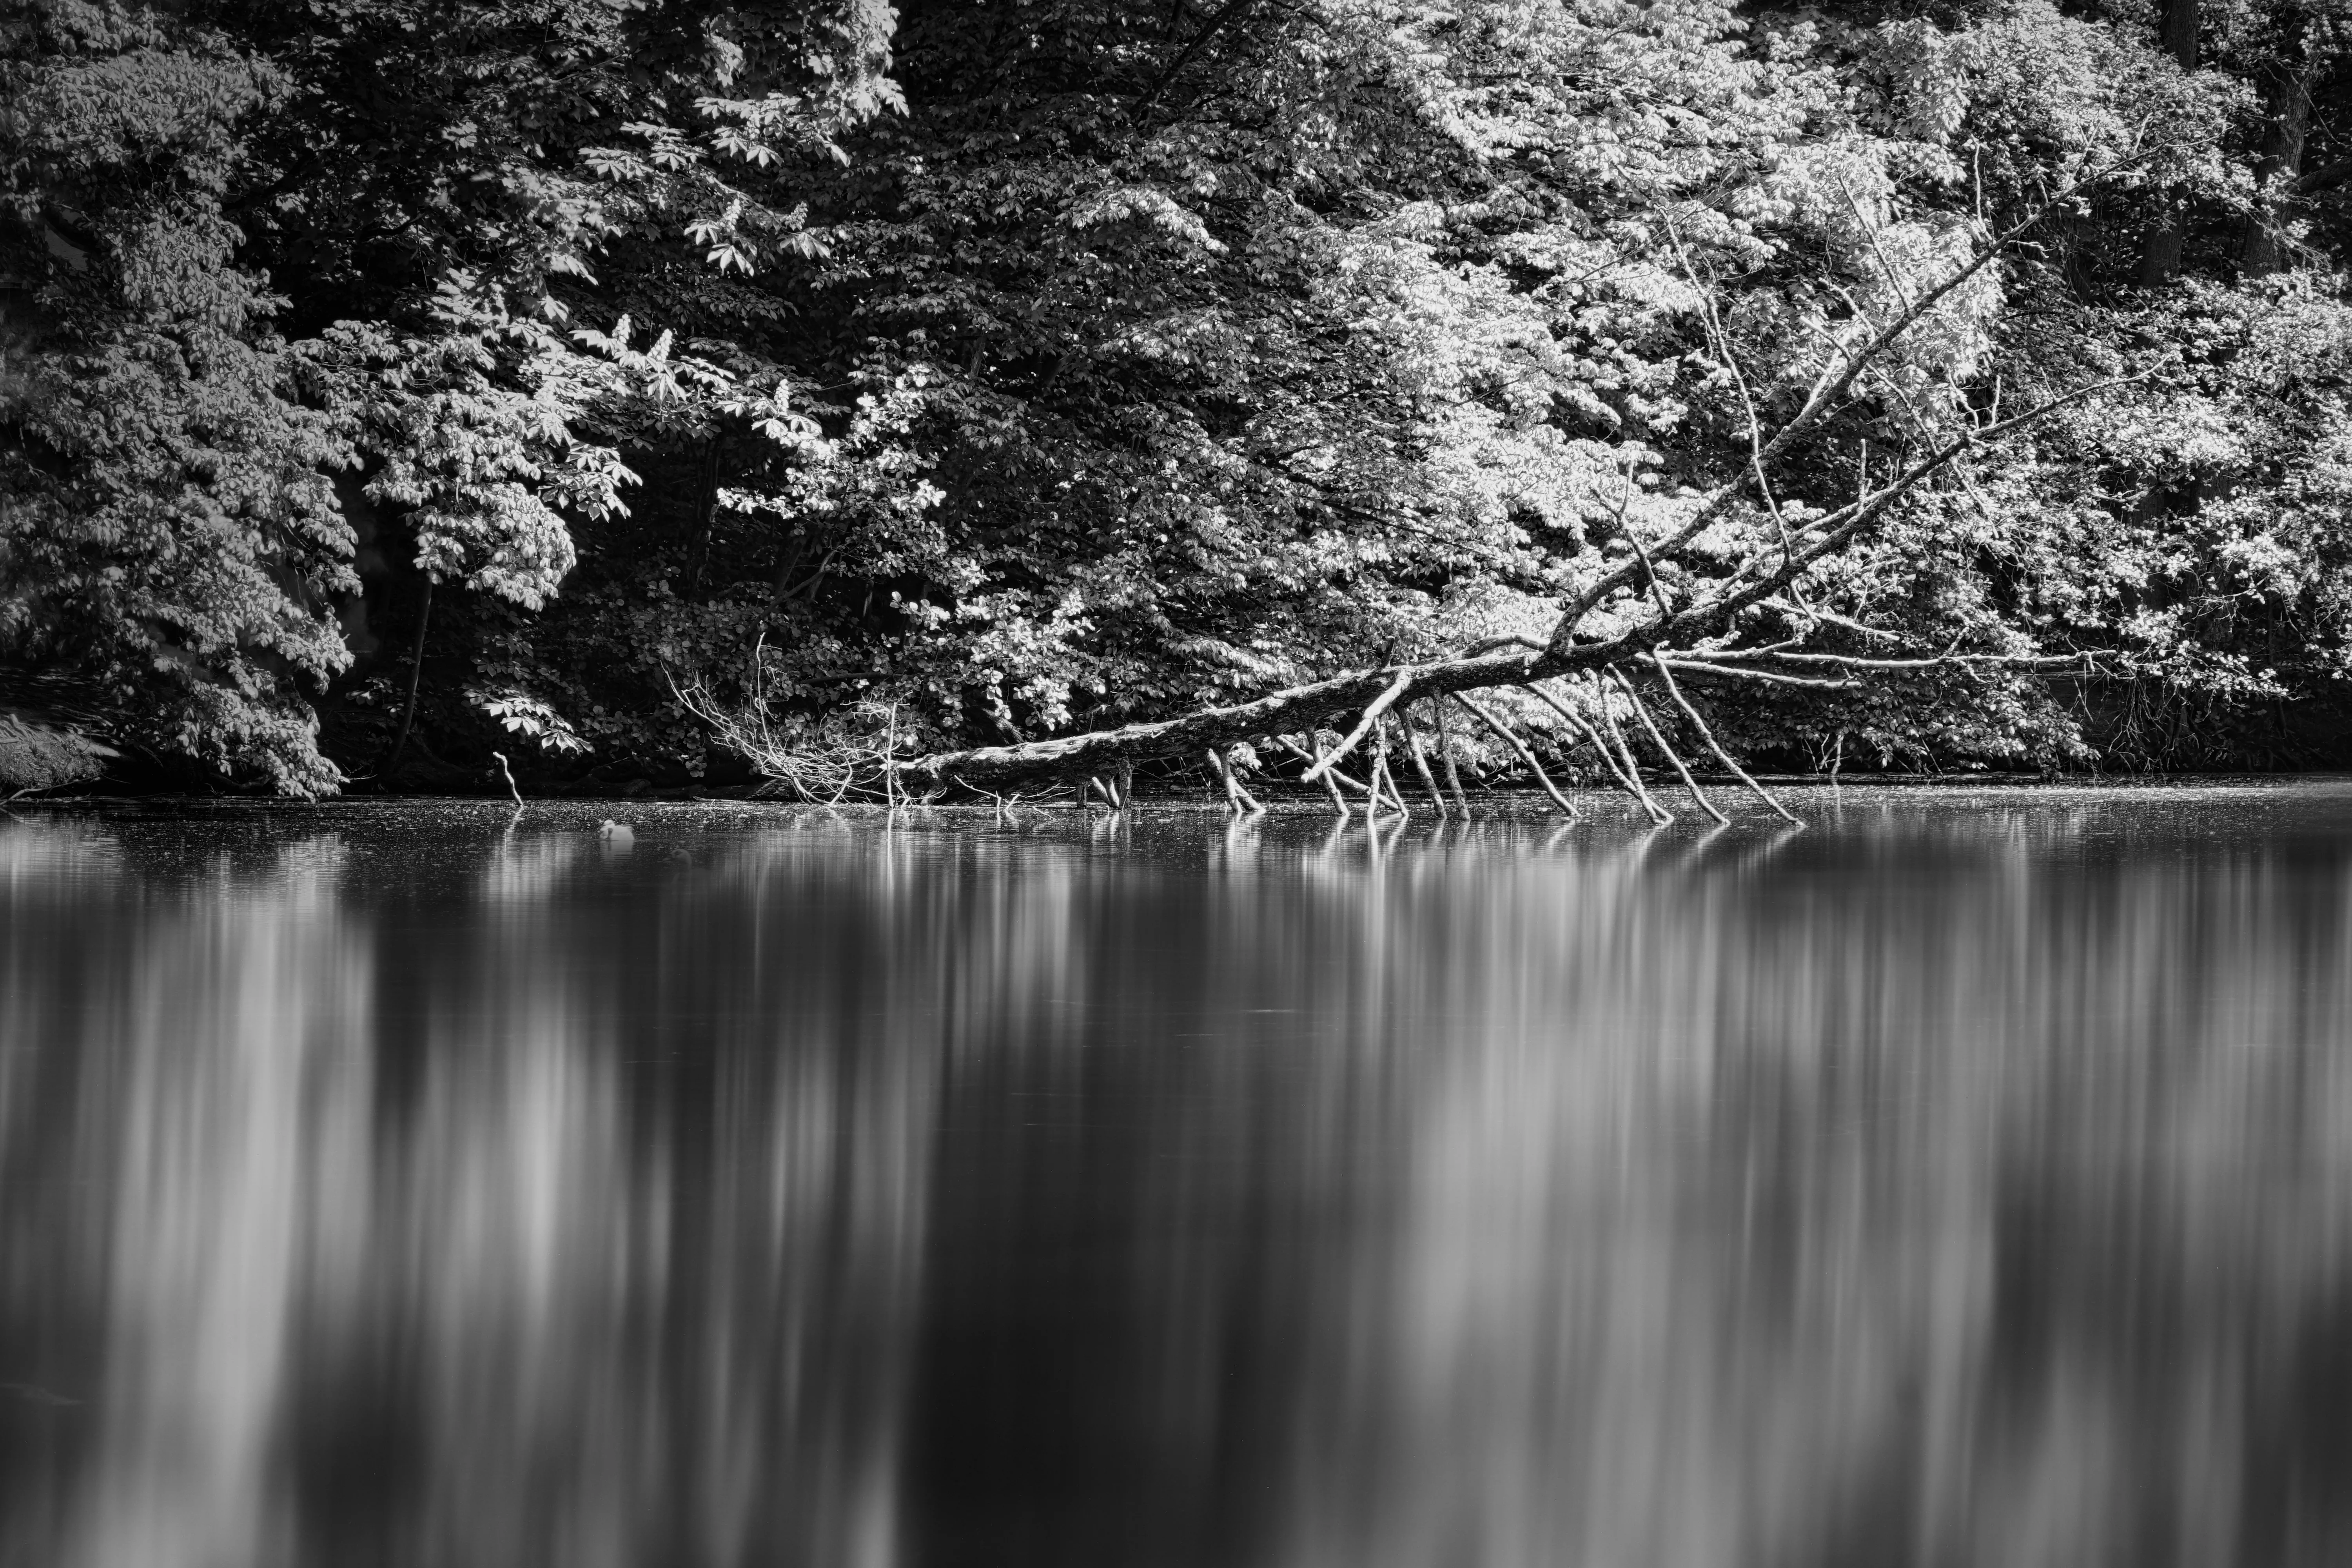
Long Exposure Photography
Last year, I conducted some long-exposure photography experiments at the Oberschweinstiege Park in the south of Frankfurt. The park is ideal for walking with pets or simply relaxing, with its semi-wild lake giving it a special charm and making it an excellent place to find photographic subjects. However, the park’s location along the airport runways can sometimes be very noisy.
 As you know, airplanes always land or take off into the wind, so if the wind direction is from the north, the airplanes will take off over the park and it is exactly in the acceleration area when the airplanes turn on their engines to rise to the flight path. It’s not always like that, but if you have the misfortune to be in such a moment in the park, it’s quite unpleasant.

Back to the long-exposure photography, I used my Sony 6300, Sony SEL 18135 lens, Rollei remote and Haida circular ND filters 8, 64, and 1000.
Of course, I used a tripod as well.
So, I started by arriving at the location and exploring the photography options, choosing several locations and subjects. Then at each location, I took several photos to select the right framing.
 After taking the initial photos, I opened a beer and closely inspected them using the camera’s viewfinder, not the display, to see any detail clearly.
Once I had established the subject, angle, and optimal position, I mounted the camera on the tripod in the chosen position.
Initially, I set the camera to aperture priority with ISO at 100 and focus set to manual, as when using filters the camera can no longer correctly use autofocus.
Because it was a sunny day with lots of light and I wanted to lengthen the exposure time as much as possible, I used F11 and F14 on lenses, experimenting with different values.
Initially, we would set the camera to automatically choose the exposure in Aperture Priority mode, and after taking several shots to get a “sharp” version, we would switch to manual mode in “Bulb” mode. We would then use the camera’s initial shutter speed multiplied by the filter factor, for example 1/25 sec times 1000 for the F10 filter results in 40 sec, but we needed a longer exposure time. So, we used two combined filters, one of x64 and one of x1000, which along with the F14 setting on the lens, allowed us an exposure time of 332 seconds.
 We experimented with various filter and exposure time combinations, and used a remote control for triggering the camera, which was set to electronic shutter to prevent vibrations.
The second part of editing was done at home, where we used the Luminar Neo software to combine two photos. Specifically, we used the water part of the long-exposed photo, and for the foliage and sky, we used elements from a previously taken “sharp” photo taken from the same position.
We also made a descriptive video of the photography and editing process.
Location on Google Maps:

